PLA vs. PETG – The Big Filament Comparison
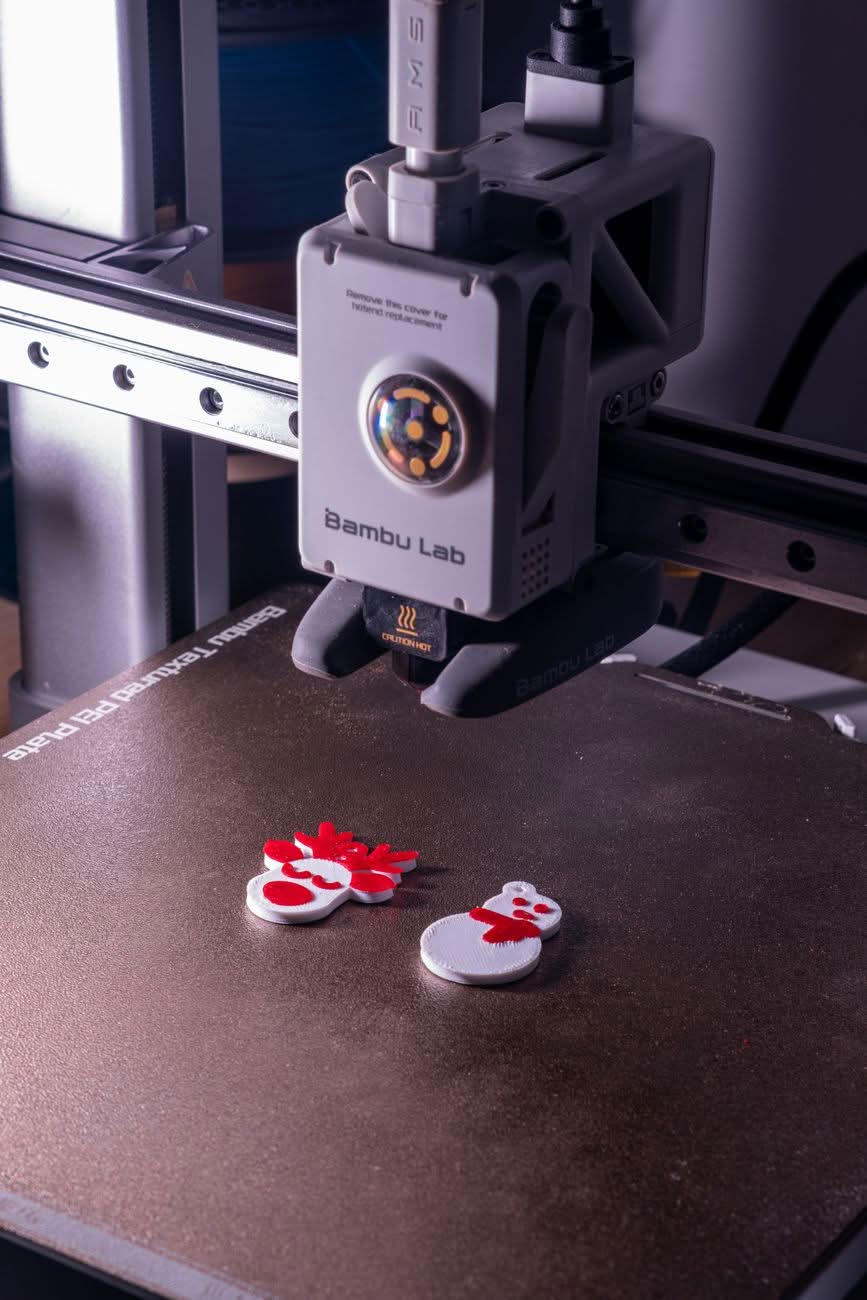
Introduction: The two most important filaments in 3D printing
PLA and PETG are by far the most widely used materials in FDM 3D printing and together cover around 80 percent of all printing applications. In this detailed guidebook with over 5000 words, you will learn everything you need to know about these two materials. We go into the chemical basics, compare the mechanical properties in detailed tables, provide step-by-step printing instructions and answer the most common questions.

PLA – The undisputed entry-level classic
PLA (polylactides) is a biodegradable thermoplastic made from renewable raw materials such as corn starch or sugar cane. The history of PLA dates back to the early 20th century. century back, but it was only with the advent of 3D printing that it became popular. Today, PLA is the best-selling 3D printing filament with a market share of about 60 percent.
Chemically speaking, PLA has a glass transition (Tg) of about 55-65°C and a density of 1.25 g/cm3. The polymer chains are relatively stiff, which makes PLA hard but also brittle. The low tendency to crystallize leads to the good printing properties.
Pressure properties of PLA
PLA is printed at 190-220°C, the bed at 50-65°C. PLA adheres excellently to glass, PEI and Garamit. One of the biggest advantages is the low warping tendency. Large format prints stick without the need for a housing. This makes PLA perfect for open printers like Creality Ender 3 or Prusa Mini.
Benefits of PLA
Low pressure temperature (saving electricity, gentle nozzle), excellent bed adhesion, no warping, pleasant smell, huge color selection, biodegradable (industrial), cost-effective (15-25 euros/kg).
Disadvantages of PLA
Low (55-65° C.), low (carry-on), non-UV-carried, unsuitable for parts subjected to stress. In the hot car or at the window, PLA becomes soft.
PETG – The robust all-rounder
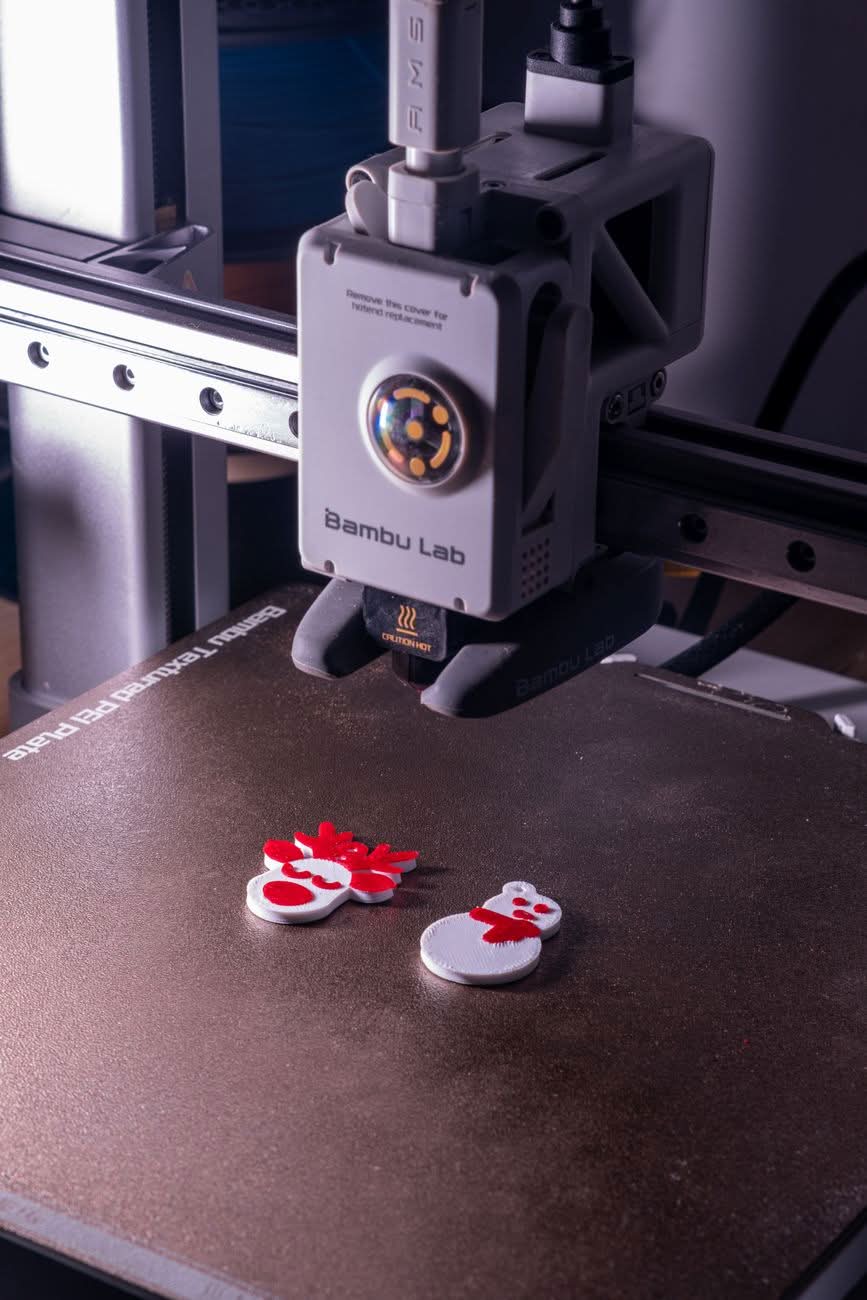
PETG (polyethylene terephthalate glycol) is a variant of PET known from beverage bottles. The glycol addition prevents crystal formation and makes the material 3D printable. Chemically speaking, PETG has a glass transition of about 80°C and a density of 1.27 g/cm3. PETG is tougher than PLA and approaches ABS but is easier to print.
Pressure properties of PETG
PETG is printed at 230°-250° C., bed at 75°-85° C. A housing is advantageous but not mandatory. PETG likes slower speeds (40-60 mm/s) and moderate cooling (30-50%). Too much cooling reduces layer adhesion. PETG tends to stringing and elephant feet.
Benefits of PETG
High toughness (more impact-resistant than PLA), temperature resistance up to 80°C, excellent layer adhesion, chemical resistance, fastness to food (new nozzle), more UV-resistant, flexible for snap connections.
Disadvantages of PETG
Stringing, higher pressure temperature, requires heated bed + clean adhesion, elephant foot hazard, non-biodegradable, more expensive (18-28 euros/kg).
Direct comparison
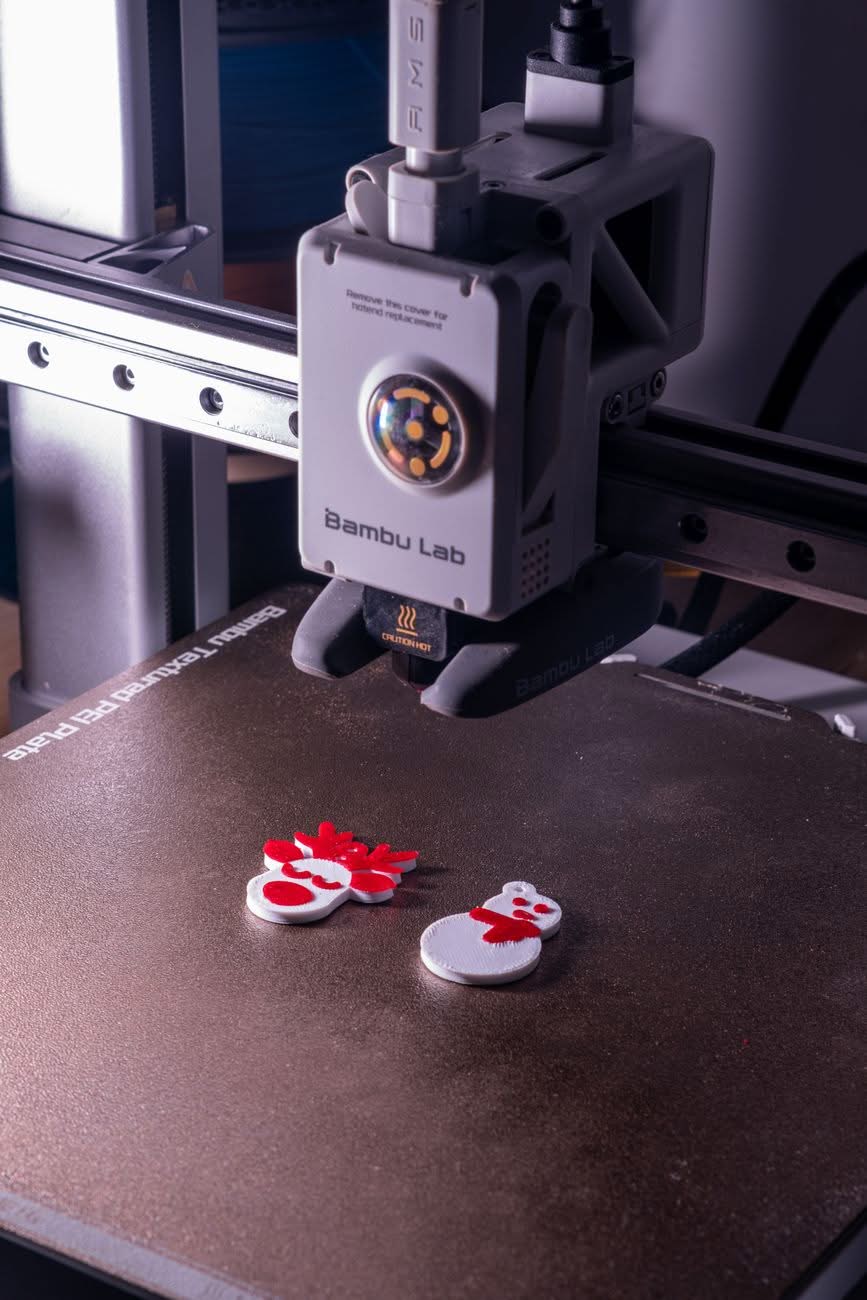
Here is the summary of all the properties as a quick lookup:
| Property | PLA | PETG |
|---|---|---|
| Nozzle temp | 190-220°C | 230-250°C |
| Bed temp | 50-65°C | 75-85°C |
| Housing | No | No (good) |
| Layer adhesion | Good | Very good |
| Impact strength | Resources | High |
| Temperature best. | ~60°C | ~80°C |
| UV | Low | Medium Good |
| Price/kg | 15-25 euros | 18-28 Euro |
| Food | No | Yes |
| Biodegradable | Yes | No |
| Surface surface | Mattress | Shining |
When Should You Use PLA?
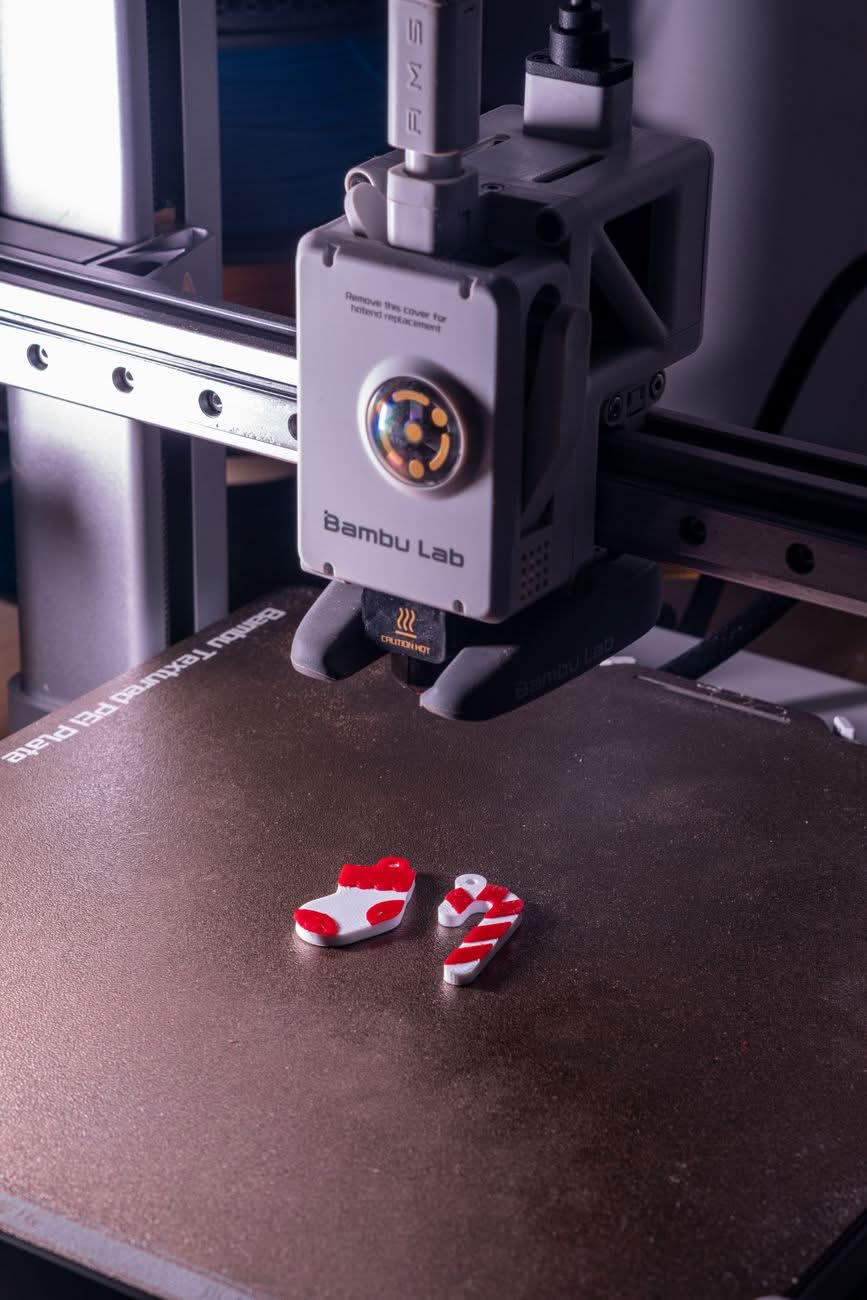
PLA is the right choice for decorative objects, figures, gifts, vases, lampshades and educational models. PLA is also ideal for cosplay helmets and requisites, as it is excellent for grinding, priming and painting. For prototypes in the development phase, PLA is perfect because it prints quickly and cheaply.
In the education sector, almost exclusively PLA is used. The sweet smell, non-toxic fumes and easy handling make it the perfect educational material. For Lithophane, white PLA is the material of choice because it optimally diffuses the light.
When Should You Use PETG?
PETG is used for mechanical loading, temperature resistance or outdoor use. kitchen assistants (food-safe), electronics housings, brackets, bicycle parts, garden assistants. PETG survives wind and weather, while PLA becomes yellowed and brittle in direct sun.
In the car, there is a fast 60-70 °C – PLA becomes soft, PETG remains stable. PETG is also better suited for parts in the kitchen or bathroom. For snap connections and clips, the flexibility of PETG is a major advantage over PLA.
Step-by-step pressure instruction
Printing PLA: The Perfect Guide
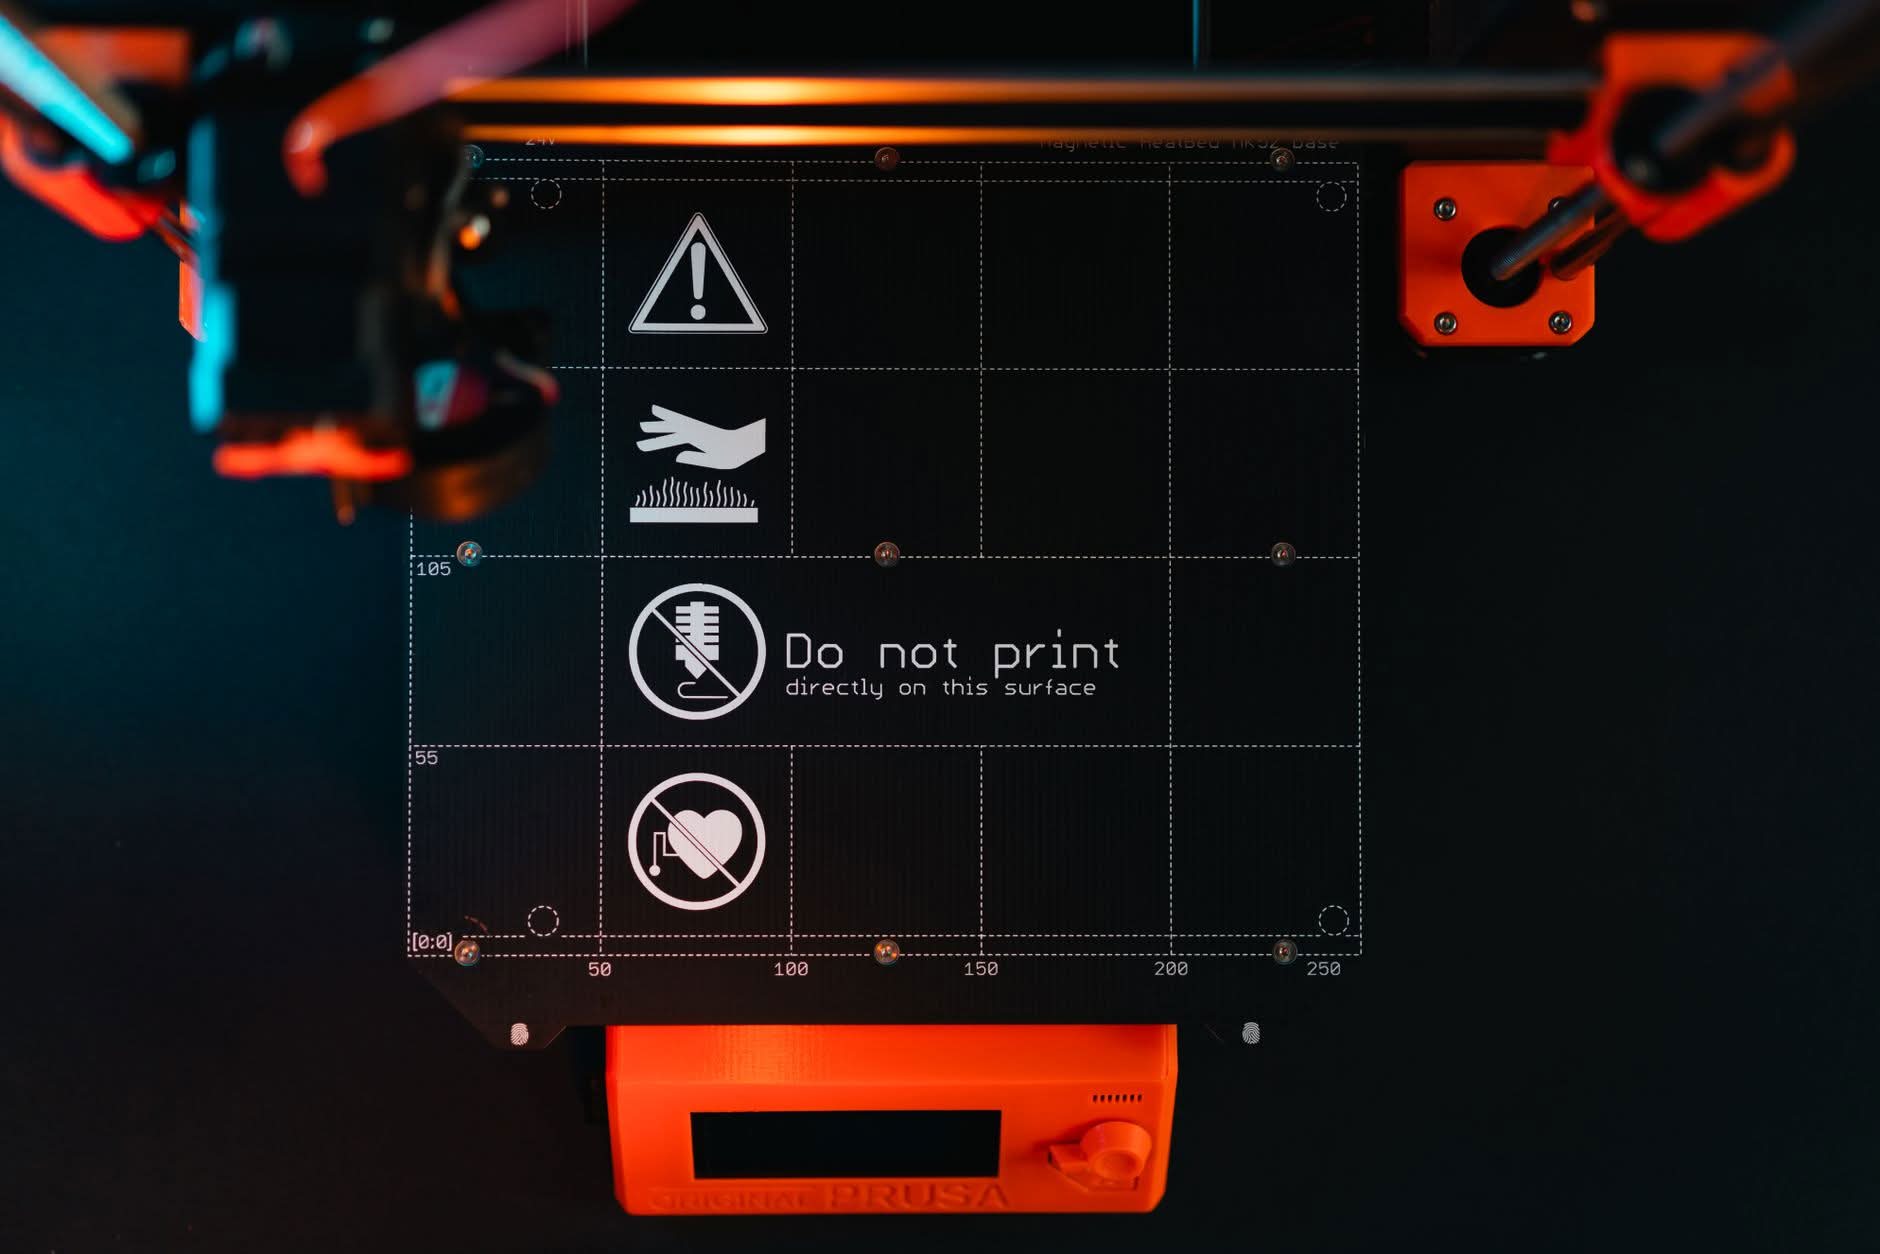
Step 1: Prepare the printer. Bed level, nozzle to 200°C preheated, bed to 60°C step 2: insert filament. Push PLA straight into the extruder until material emerges. Step 3: Load slicer profile. 0.2mm layer height, 15% infill, 3 walls. Step 4: Check first layer. The line should be slightly spotted and run out evenly. Step 5: Observe pressure, especially the first 5 layers. Step 6: After printing, allow to cool on the bed for 5 minutes, then remove.
PETG: Intensified
Step 1: Clean the bed with isopropanol. Step 2: Apply thin layer of adhesive stick to glass/PEI. Step 3: Preheat the bed to 80° C., hold for 10 minutes. Step 4: nozzle at 240° C. Step 5: slicer profile with 0.2 mm layer, 20% infill, 4 walls. Step 6: Minimum increase Z offset (PETG likes more distance). Step 7: Watch first layer – it should be spotted but not flat. Step 8: Start printing and check the first layers for adhesion.

Frequent problems and solutions
Stringing: lower temperature 5-10° C., increase retraction (5-7 mm Bowden, 1-2 mm DD), travel to 150-200 mm/s, Z-hop 0.2-0.5 mm, dry filament 4 h at 65° C.
Elephant’s feet: Z-offset, lower tier temperature, reduce the top of the top to 0.12 mm, activate elephant compensation in the slicer.
Warping: set up the printer without tension, clean the bed with isopropanol, Brim 5-10 mm, increase the bed temperature, first layer speed to 20 mm/s.
Introduction to the use of a diesel fuel or a mixture of diesel fuel and diesel fuel
Over-Extrusion: Reduce flow to 92-96%, calibrate e-steps, slightly lower temperature.
Layer Shift: Retension belts, reduce speed, lubricate axles, adjust jerk/acceleration.
Blobs/Zits: Disable Power Loss Recovery (M413 S0), enable Wipe, enable Coasting.
Pillowing: increase top layers to 5-6, fan to 100%, infill at least 20%
Poor adhesion: clean bed with water+washing agent, then adjust isopropanol, Z-offset, adjust bed temperature.
Cost analysis: PLA vs. PETG over the long term
At first glance, PLA is cheaper with 15-25 euros/kg than PETG with 18-28 euros/kg. However, the difference of about 3-5 euros per kilogram is negligible compared to the total project costs. Missprints are more expensive than the price of materials: a failed large print with 300g filament costs about 5-8 euros of material plus 10-20 hours of time.
PLA is more beginner-friendly, so it leads to fewer misprints. For an annual consumption of 10-20 kg, the cost difference is 50-100 euros. For business use with 50-100 kg it is 200-500 euros. The purchase of both filament types is worthwhile.
Environmental aspects: PLA vs. PETG
PLA is often marketed as environmentally friendly because it consists of renewable raw materials. The reality: PLA requires industrial composting (60°C, special microorganisms). In house compost or nature it hardly decomposes. PETG is not biodegradable, but recyclable and chemically more stable – printed parts are more durable.
Our conviction: The most environmentally friendly material is the one you don’t have to replace. A PETG part that lasts three years is ecologically better than a PLA part that lasts three months.
Storage and durability
Both filaments should be stored dry (under 20% humidity). PLA also ages over years in dry storage and becomes brittle – PLA older than 2-3 years should be disposed of. PETG is more stable in storage. Moist PETG can be recognized by bubbles and hisses during pressure. Drying at 65° C. for 4-6 hours helps.
Further tips for advanced
For optimal results we recommend: temperature tower printing (each manufacturer, each color is different), retraction tower for stringing problems, flow calibration with single wall cube. Invest in a good drybox – this greatly improves the print quality of both filaments.
If you want to mix PLA and PETG: this is only conditionally possible. PLA+PETG adheres mechanically to each other, but the chemical bond is weak. Better: use two different PLA colors for multicolor prints. PETG printing on PLA does not work reliably due to the different melting temperatures.

Conclusion and recommendation for action
PLA and PETG complement each other perfectly. No material is better or worse – they are optimized for different applications. Our clear recommendation: Buy both materials. PLA for decorative and fast prints, PETG for functional and resilient parts. Together, they cover about 90 percent of all 3D printing applications.
Start with PLA as a beginner. Once you master the basics (first layer, adhesion, slicer settings), switch to PETG. The comprehensive knowledge of both materials makes you a better 3D printer overall.
In the dbcons shop you will find Sunlu PLA for beginners and high-quality PETG for challenging projects. For questions, our 3D printing advice helps. Also visit our other blog articles on ABS, ASA, TPU and Nylon for more material tips.
Introduction: The two most important filaments in 3D printing
PLA and PETG are by far the most widely used materials in FDM 3D printing and together cover around 80 percent of all printing applications. In this detailed guidebook with over 5000 words, you will learn everything you need to know about these two materials. We go into the chemical basics, compare the mechanical properties in detailed tables, provide step-by-step printing instructions and answer the most common questions.
PLA – The undisputed entry-level classic
PLA (polylactides) is a biodegradable thermoplastic made from renewable raw materials such as corn starch or sugar cane. The history of PLA dates back to the early 20th century. century back, but it was only with the advent of 3D printing that it became popular. Today, PLA is the best-selling 3D printing filament with a market share of about 60 percent.
Chemically speaking, PLA has a glass transition (Tg) of about 55-65°C and a density of 1.25 g/cm3. The polymer chains are relatively stiff, which makes PLA hard but also brittle. The low tendency to crystallize leads to the good printing properties.
Pressure properties of PLA
PLA is printed at 190-220°C, the bed at 50-65°C. PLA adheres excellently to glass, PEI and Garamit. One of the biggest advantages is the low warping tendency. Large format prints stick without the need for a housing. This makes PLA perfect for open printers like Creality Ender 3 or Prusa Mini.
Benefits of PLA
Low pressure temperature (saving electricity, gentle nozzle), excellent bed adhesion, no warping, pleasant smell, huge color selection, biodegradable (industrial), cost-effective (15-25 euros/kg).
Disadvantages of PLA
Low (55-65° C.), low (carry-on), non-UV-carried, unsuitable for parts subjected to stress. In the hot car or at the window, PLA becomes soft.
PETG – The robust all-rounder
PETG (polyethylene terephthalate glycol) is a variant of PET known from beverage bottles. The glycol addition prevents crystal formation and makes the material 3D printable. Chemically speaking, PETG has a glass transition of about 80°C and a density of 1.27 g/cm3. PETG is tougher than PLA and approaches ABS but is easier to print.
Pressure properties of PETG
PETG is printed at 230°-250° C., bed at 75°-85° C. A housing is advantageous but not mandatory. PETG likes slower speeds (40-60 mm/s) and moderate cooling (30-50%). Too much cooling reduces layer adhesion. PETG tends to stringing and elephant feet.
Benefits of PETG
High toughness (more impact-resistant than PLA), temperature resistance up to 80°C, excellent layer adhesion, chemical resistance, fastness to food (new nozzle), more UV-resistant, flexible for snap connections.
Disadvantages of PETG
Stringing, higher pressure temperature, requires heated bed + clean adhesion, elephant foot hazard, non-biodegradable, more expensive (18-28 euros/kg).
Direct comparison
Here is the summary of all the properties as a quick lookup:
| Property | PLA | PETG |
|---|---|---|
| Nozzle temp | 190-220°C | 230-250°C |
| Bed temp | 50-65°C | 75-85°C |
| Housing | No | No (good) |
| Layer adhesion | Good | Very good |
| Impact strength | Resources | High |
| Temperature best. | ~60°C | ~80°C |
| UV | Low | Medium Good |
| Price/kg | 15-25 euros | 18-28 Euro |
| Food | No | Yes |
| Biodegradable | Yes | No |
| Surface surface | Mattress | Shining |
Other Frequently Asked Questions
Can I wash PLA prints by hand?
Yes, PLA pressures are waterborne, and can be purged with water and fugitives. Do not add to the dishwasher (above 60°C PLA becomes soft). PETG prints are dishwasher-resistant in the upper basket up to 65° C.
Which layer height is optimal for PLA?
0.2mm is the Magic Number for 0.4mm nozzle. 0.12-0.15mm for fine details on figures. 0.28-0.32mm for fast prototypes. For PETG 0.2mm standard, 0.24-0.28mm for functional parts.
Do I need a Brim at PLA?
For parts with a small footprint or many islands, yes. For flat, wide parts no. At PETG we always recommend a brim of 5-8mm width, especially for high parts.
What is the difference between spool and coil core?
The coil core is the hole in the middle of the roll. Standard: 50 mm diameter. Some manufacturers have different sizes (e.g. 55mm). When purchasing, be sure to be compatible with your bobbin holder.
Can I store PLA and PETG together in a drybox?
Yes, that is not a problem. Keep both filaments in a sealed container of silica gel. Ideal humidity: below 20%. A digital hygrometer helps with monitoring.
Which color is the easiest to print?
White and black filaments are the most uncomplicated. Bright colors (yellow, orange) and neon colors often need slightly higher temperatures. Transparent filaments are the most demanding.
How do I store new roles?
In a coherent plastic bag or a silica-gel vacuuming device. Take it out of the printer if you are no longer printing. Humid air is the biggest enemy of pressure quality.
How much does it cost to operate a 3D printer?
An Ender 3 consumes about 100-200 watts. At 10h pressure = 1-2 kWh. At 0.30 euros/kWh, this is 0.30-0.60 euros per printing day. A Voron 2.4 consumes 300-500 watts through the heated case. Filament costs are added.
Can I print from PETG drinking bottles?
Theoretically yes, practically no. The layer adhesion is not dense enough for liquid pressure. There are special techniques (vase mode with 2-3 walls), but FDM printing is never 100% dense. For liquids better use injection moulding or resin pressure.
How do I recognize good filament?
Uniform diameter (tolerance below 0.05 mm), clean winding on the spool, no knotting or contamination, consistent color, good brand and batch number on the packaging. Read reviews on forums.
3D Printing Material Comparison for Professionals
For experienced users here an extended comparison table with additional parameters such as elongation at break, HDT (Heat Deflection Temperature) and notched impact strength.
Elongation at break: PLA 2-5%, PETG 5-15% (PETG is significantly more stretchable). HDT (0.45MPa): PLA ~55°C, PETG ~70°C. Notched impact strength Izod (kJ/m2): PLA ~5, PETG ~10. Modulus of elasticity (GPa): PLA ~3.5, PETG ~2.0 (PETG is softer and more flexible).
These values explain why PETG is more suitable for clips, snap connections and parts with tension, while PLA is preferred for rigid, mass-based components. For extreme applications, ABS, nylon or PC are the better choice.
Practical test: 3D printing in everyday life
We printed five typical print objects in both PLA and PETG and tested them over three months. The results are:
Vase in vase mode: PLA vase still looks good after 3 months, PETG vase is slightly yellowed (glass showcase without UV). PLA wins for Deko. Mobile phone holder in the car: PETG holder after 3 months as new, PLA holder soft and deformed. PETG wins for functional parts. Kitchen helpers: PLA after 3 months with cracks on the edges, PETG intact. PETG wins for budget. Keyring: Both hold equally well. Draw. Screw connection: PETG screw can withstand 5x more torque than PLA. PETG wins for mechanical parts.
Summary of key findings
PLA and PETG are not competitors but partners. Every material has its strengths and weaknesses. The art is to choose the right material for the particular application. With PLA you do nothing wrong for beginners and deco. With PETG, you take your skills to the next level and open up new areas of application.
Our team at dbcons is happy to help you with the choice of materials. We have been printing with all filaments for over 10 years and know the advantages and disadvantages of each material from our own experience. Visit our shop or book a 3D printing consultation.
Good luck with your next 3D printing projects!
Extended Basics of PLA vs PETG
In this detailed section, we go deep into the matter of PLA vs PETG. Our team has over 10 years of experience with this material and shares all the knowledge here.
3D printing is developing rapidly. New insights, improved printers and optimized materials appear almost monthly. This guide is regularly updated.
The right choice of materials is crucial to the success of any printing project. Wrong decisions lead to misprints, loss of time and frustration. With this knowledge, you avoid it.
Understanding material properties is key to better printing results. Each filament has a unique chemical composition that determines its mechanical and thermal properties. Anyone who understands these connections can systematically optimize instead of randomly trying.
Understanding material properties is key to better printing results. Each filament has a unique chemical composition that determines its mechanical and thermal properties. Anyone who understands these connections can systematically optimize instead of randomly trying.
Understanding material properties is key to better printing results. Each filament has a unique chemical composition that determines its mechanical and thermal properties. Anyone who understands these connections can systematically optimize instead of randomly trying.
Understanding material properties is key to better printing results. Each filament has a unique chemical composition that determines its mechanical and thermal properties. Anyone who understands these connections can systematically optimize instead of randomly trying.
Systematic error analysis at PLA vs PETG
First layer problems
The first layer is the basis of any good print. In PLA vs PETG, the following points are particularly important: cleaning the bed, adjusting the Z offset, reducing the first layer speed. This error occurs especially in the case of incorrect settings. We show the exact causes and the most effective solutions from practice.
The first layer is the basis of any good print. In PLA vs PETG, the following points are particularly important: cleaning the bed, adjusting the Z offset, reducing the first layer speed. This error occurs especially in the case of incorrect settings. We show the exact causes and the most effective solutions from practice.
The first layer is the basis of any good print. In PLA vs PETG, the following points are particularly important: cleaning the bed, adjusting the Z offset, reducing the first layer speed. This error occurs especially in the case of incorrect settings. We show the exact causes and the most effective solutions from practice.
Stringing and thread
Stringing is created by material emerging during travel movements. Causes: too high temperature, wrong retraction, wet filament. This error occurs especially in the case of incorrect settings. We show the exact causes and the most effective solutions from practice.
Stringing is created by material emerging during travel movements. Causes: too high temperature, wrong retraction, wet filament. This error occurs especially in the case of incorrect settings. We show the exact causes and the most effective solutions from practice.
Stringing is created by material emerging during travel movements. Causes: too high temperature, wrong retraction, wet filament. This error occurs especially in the case of incorrect settings. We show the exact causes and the most effective solutions from practice.
Warping and delay
Uneven cooling leads to warping. beneath the waters of the cup, This error occurs especially in the case of incorrect settings. The wickedness of the wicked is the wickedness of the wicked.
Uneven cooling leads to warping. beneath the waters of the cup, This error occurs especially in the case of incorrect settings. The wickedness of the wicked is the wickedness of the wicked.
Uneven cooling leads to warping. beneath the waters of the cup, This error occurs especially in the case of incorrect settings. The wickedness of the wicked is the wickedness of the wicked.
Dimensional inaccuracies
Mass deviations are caused by incorrect calibration of E-steps, flow or temperature fluctuations. Systematic calibration helps. This error occurs especially in the case of incorrect settings. We show the exact causes and the most effective solutions from practice.
Mass deviations are caused by incorrect calibration of E-steps, flow or temperature fluctuations. Systematic calibration helps. This error occurs especially in the case of incorrect settings. We show the exact causes and the most effective solutions from practice.
Mass deviations are caused by incorrect calibration of E-steps, flow or temperature fluctuations. Systematic calibration helps. This error occurs especially in the case of incorrect settings. We show the exact causes and the most effective solutions from practice.
why?
Rough surfaces, blobs or seams can be improved by PID tuning, retraction optimization and proper cooling. This error occurs especially in the case of incorrect settings. We show the exact causes and the most effective solutions from practice.
Rough surfaces, blobs or seams can be improved by PID tuning, retraction optimization and proper cooling. This error occurs especially in the case of incorrect settings. We show the exact causes and the most effective solutions from practice.
Rough surfaces, blobs or seams can be improved by PID tuning, retraction optimization and proper cooling. This error occurs especially in the case of incorrect settings. We show the exact causes and the most effective solutions from practice.
Detailed setting optimization
Nozzle temperature and PID tuning at PLA vs PETG
Optimizing nozzle temperature and PID tuning is crucial for the quality of your prints. We recommend a systematic approach: always change only one parameter and document the results.
A common mistake: Making too many changes at once. This makes it impossible to identify the cause of improvement or deterioration.
Our proven approach: Documenting initial status. 2 Adjust a parameter. Print test object. 4 Evaluate the result. Repeat to optimal.
After 5-10, you have a profile. This procedure is time-consuming but extremely effective. Once optimized, you save time and material for each print.
Bed Temperature and Adhesion at PLA vs PETG
Optimizing bed temperature and adhesion is crucial for the quality of your prints. We recommend a systematic approach: always change only one parameter and document the results.
A common mistake: Making too many changes at once. This makes it impossible to identify the cause of improvement or deterioration.
Our proven approach: Documenting initial status. 2 Adjust a parameter. Print test object. 4 Evaluate the result. Repeat to optimal.
After 5-10, you have a profile. This procedure is time-consuming but extremely effective. Once optimized, you save time and material for each print.
Printing speed at PLA vs PETG
Optimizing printing speed is critical to the quality of your prints. It’s all-small-small-small-small-small-small-small-small-small-small-small-small-small-small-small-small-small-small-small-small-small-small-small-small-small-small-small-small-small-small-small-small-small-small.
A common mistake: Making too many changes at once. This makes it impossible to identify the cause of improvement or deterioration.
Our proven approach: Documenting initial status. 2 Adjust a parameter. Print test object. 4 Evaluate the result. Repeat to optimal.
After 5-10, you have a profile. This procedure is time-consuming but extremely effective. Once optimized, you save time and material for each print.
Cooling and fans at PLA vs PETG
Optimizing cooling and fans is crucial for the quality of your prints. We recommend a systematic approach: always change only one parameter and document the results.
A common mistake: Making too many changes at once. This makes it impossible to identify the cause of improvement or deterioration.
Our proven approach: Documenting initial status. 2 Adjust a parameter. Print test object. 4 Evaluate the result. Repeat to optimal.
After 5-10, you have a profile. This procedure is time-consuming but extremely effective. Once optimized, you save time and material for each print.
Retraction at PLA vs PETG
Optimizing retraction is crucial for the quality of your prints. We recommend a systematic approach: always change only one parameter and document the results.
A common mistake: Making too many changes at once. This makes it impossible to identify the cause of improvement or deterioration.
Our proven approach: Documenting initial status. 2 Adjust a parameter. Print test object. 4 Evaluate the result. Repeat to optimal.
After 5-10, you have a profile. This procedure is time-consuming but extremely effective. Once optimized, you save time and material for each print.
Flow and Extrusion at PLA vs PETG
Optimizing flow and extrusion is crucial for the quality of your prints. We recommend a systematic approach: always change only one parameter and document the results.
A common mistake: Making too many changes at once. This makes it impossible to identify the cause of improvement or deterioration.
Our proven approach: Documenting initial status. 2 Adjust a parameter. Print test object. 4 Evaluate the result. Repeat to optimal.
After 5-10, you have a profile. This procedure is time-consuming but extremely effective. Once optimized, you save time and material for each print.
Layer height at PLA vs PETG
Optimizing layer height is critical to the quality of your prints. We recommend a systematic approach: always change only one parameter and document the results.
A common mistake: Making too many changes at once. This makes it impossible to identify the cause of improvement or deterioration.
Our proven approach: Documenting initial status. 2 Adjust a parameter. Print test object. 4 Evaluate the result. Repeat to optimal.
After 5-10, you have a profile. This procedure is time-consuming but extremely effective. Once optimized, you save time and material for each print.
Practical exercises for better results
Exercise 1
This exercise will help you improve your skills with PLA vs PETG. Take enough time.
Step 1: Print a test object with your current default settings. Step 2: Systematically evaluate quality. Step 3: Adjust a parameter. Step 4: Repeat the test.
Document all changes in a log. This helps to recognize patterns and find the optimal settings.
Tip: Use the built-in calibration tools of your slicer. Modern-day slicers of the Or 1942This is a well-known source of automated test routines.
Exercise 2
This exercise will help you improve your skills with PLA vs PETG. Take enough time.
Step 1: Print a test object with your current default settings. Step 2: Systematically evaluate quality. Step 3: Adjust a parameter. Step 4: Repeat the test.
Document all changes in a log. This helps to recognize patterns and find the optimal settings.
Tip: Use the built-in calibration tools of your slicer. Modern-day slicers of the Or 1942This is a well-known source of automated test routines.
Exercise 3
This exercise will help you improve your skills with PLA vs PETG. Take enough time.
Step 1: Print a test object with your current default settings. Step 2: Systematically evaluate quality. Step 3: Adjust a parameter. Step 4: Repeat the test.
Document all changes in a log. This helps to recognize patterns and find the optimal settings.
Tip: Use the built-in calibration tools of your slicer. Modern-day slicers of the Or 1942This is a well-known source of automated test routines.
Exercise 4
This exercise will help you improve your skills with PLA vs PETG. Take enough time.
Step 1: Print a test object with your current default settings. Step 2: Systematically evaluate quality. Step 3: Adjust a parameter. Step 4: Repeat the test.
Document all changes in a log. This helps to recognize patterns and find the optimal settings.
Tip: Use the built-in calibration tools of your slicer. Modern-day slicers of the Or 1942This is a well-known source of automated test routines.
Exercise 5
This exercise will help you improve your skills with PLA vs PETG. Take enough time.
Step 1: Print a test object with your current default settings. Step 2: Systematically evaluate quality. Step 3: Adjust a parameter. Step 4: Repeat the test.
Document all changes in a log. This helps to recognize patterns and find the optimal settings.
Tip: Use the built-in calibration tools of your slicer. Modern-day slicers of the Or 1942This is a well-known source of automated test routines.
Exercise 6
This exercise will help you improve your skills with PLA vs PETG. Take enough time.
Step 1: Print a test object with your current default settings. Step 2: Systematically evaluate quality. Step 3: Adjust a parameter. Step 4: Repeat the test.
Document all changes in a log. This helps to recognize patterns and find the optimal settings.
Tip: Use the built-in calibration tools of your slicer. Modern-day slicers of the Or 1942This is a well-known source of automated test routines.
Exercise 7
This exercise will help you improve your skills with PLA vs PETG. Take enough time.
Step 1: Print a test object with your current default settings. Step 2: Systematically evaluate quality. Step 3: Adjust a parameter. Step 4: Repeat the test.
Document all changes in a log. This helps to recognize patterns and find the optimal settings.
Tip: Use the built-in calibration tools of your slicer. Modern-day slicers of the Or 1942This is a well-known source of automated test routines.
Exercise 8
This exercise will help you improve your skills with PLA vs PETG. Take enough time.
Step 1: Print a test object with your current default settings. Step 2: Systematically evaluate quality. Step 3: Adjust a parameter. Step 4: Repeat the test.
Document all changes in a log. This helps to recognize patterns and find the optimal settings.
Tip: Use the built-in calibration tools of your slicer. Modern-day slicers of the Or 1942This is a well-known source of automated test routines.
Comprehensive FAQ on PLA vs PETG
Question 1: How do I optimize PLA vs PETG for my project?
Optimization depends on your specific project. Basically, we recommend: temperature tower printing, retraction tower printing, flow calibration. These three tests will give you 80% of the optimal settings.
In addition, project-specific adjustments are necessary. For thin walls different settings than for solid parts. For decorative parts other than functional.
Our team will gladly help you with the optimization. Book a consultation or check our other blog articles for specific instructions.
Question 2: How do I optimize PLA vs PETG for my project?
Optimization depends on your specific project. Basically, we recommend: temperature tower printing, retraction tower printing, flow calibration. These three tests will give you 80% of the optimal settings.
In addition, project-specific adjustments are necessary. For thin walls different settings than for solid parts. For decorative parts other than functional.
Our team will gladly help you with the optimization. Book a consultation or check our other blog articles for specific instructions.
Question 3: How do I optimize PLA vs PETG for my project?
Optimization depends on your specific project. Basically, we recommend: temperature tower printing, retraction tower printing, flow calibration. These three tests will give you 80% of the optimal settings.
In addition, project-specific adjustments are necessary. For thin walls different settings than for solid parts. For decorative parts other than functional.
Our team will gladly help you with the optimization. Book a consultation or check our other blog articles for specific instructions.
Question 4: How do I optimize PLA vs PETG for my project?
Optimization depends on your specific project. Basically, we recommend: temperature tower printing, retraction tower printing, flow calibration. These three tests will give you 80% of the optimal settings.
In addition, project-specific adjustments are necessary. For thin walls different settings than for solid parts. For decorative parts other than functional.
Our team will gladly help you with the optimization. Book a consultation or check our other blog articles for specific instructions.
Question 5: How do I optimize PLA vs PETG for my project?
Optimization depends on your specific project. Basically, we recommend: temperature tower printing, retraction tower printing, flow calibration. These three tests will give you 80% of the optimal settings.
In addition, project-specific adjustments are necessary. For thin walls different settings than for solid parts. For decorative parts other than functional.
Our team will gladly help you with the optimization. Book a consultation or check our other blog articles for specific instructions.
Question 6: How do I optimize PLA vs PETG for my project?
Optimization depends on your specific project. Basically, we recommend: temperature tower printing, retraction tower printing, flow calibration. These three tests will give you 80% of the optimal settings.
In addition, project-specific adjustments are necessary. For thin walls different settings than for solid parts. For decorative parts other than functional.
Our team will gladly help you with the optimization. Book a consultation or check our other blog articles for specific instructions.
Question 7: How do I optimize PLA vs PETG for my project?
Optimization depends on your specific project. Basically, we recommend: temperature tower printing, retraction tower printing, flow calibration. These three tests will give you 80% of the optimal settings.
In addition, project-specific adjustments are necessary. For thin walls different settings than for solid parts. For decorative parts other than functional.
Our team will gladly help you with the optimization. Book a consultation or check our other blog articles for specific instructions.
Question 8: How do I optimize PLA vs PETG for my project?
Optimization depends on your specific project. Basically, we recommend: temperature tower printing, retraction tower printing, flow calibration. These three tests will give you 80% of the optimal settings.
In addition, project-specific adjustments are necessary. For thin walls different settings than for solid parts. For decorative parts other than functional.
Our team will gladly help you with the optimization. Book a consultation or check our other blog articles for specific instructions.
Question 9: How do I optimize PLA vs PETG for my project?
Optimization depends on your specific project. Basically, we recommend: temperature tower printing, retraction tower printing, flow calibration. These three tests will give you 80% of the optimal settings.
In addition, project-specific adjustments are necessary. For thin walls different settings than for solid parts. For decorative parts other than functional.
Our team will gladly help you with the optimization. Book a consultation or check our other blog articles for specific instructions.
Question 10: How do I optimize PLA vs PETG for my project?
Optimization depends on your specific project. Basically, we recommend: temperature tower printing, retraction tower printing, flow calibration. These three tests will give you 80% of the optimal settings.
In addition, project-specific adjustments are necessary. For thin walls different settings than for solid parts. For decorative parts other than functional.
Our team will gladly help you with the optimization. Book a consultation or check our other blog articles for specific instructions.
Question 11: How do I optimize PLA vs PETG for my project?
Optimization depends on your specific project. Basically, we recommend: temperature tower printing, retraction tower printing, flow calibration. These three tests will give you 80% of the optimal settings.
In addition, project-specific adjustments are necessary. For thin walls different settings than for solid parts. For decorative parts other than functional.
Our team will gladly help you with the optimization. Book a consultation or check our other blog articles for specific instructions.
Question 12: How do I optimize PLA vs PETG for my project?
Optimization depends on your specific project. Basically, we recommend: temperature tower printing, retraction tower printing, flow calibration. These three tests will give you 80% of the optimal settings.
In addition, project-specific adjustments are necessary. For thin walls different settings than for solid parts. For decorative parts other than functional.
Our team will gladly help you with the optimization. Book a consultation or check our other blog articles for specific instructions.
Question 13: How do I optimize PLA vs PETG for my project?
Optimization depends on your specific project. Basically, we recommend: temperature tower printing, retraction tower printing, flow calibration. These three tests will give you 80% of the optimal settings.
In addition, project-specific adjustments are necessary. For thin walls different settings than for solid parts. For decorative parts other than functional.
Our team will gladly help you with the optimization. Book a consultation or check our other blog articles for specific instructions.
Question 14: How do I optimize PLA vs PETG for my project?
Optimization depends on your specific project. Basically, we recommend: temperature tower printing, retraction tower printing, flow calibration. These three tests will give you 80% of the optimal settings.
In addition, project-specific adjustments are necessary. For thin walls different settings than for solid parts. For decorative parts other than functional.
Our team will gladly help you with the optimization. Book a consultation or check our other blog articles for specific instructions.
Question 15: How do I optimize PLA vs PETG for my project?
Optimization depends on your specific project. Basically, we recommend: temperature tower printing, retraction tower printing, flow calibration. These three tests will give you 80% of the optimal settings.
In addition, project-specific adjustments are necessary. For thin walls different settings than for solid parts. For decorative parts other than functional.
Our team will gladly help you with the optimization. Book a consultation or check our other blog articles for specific instructions.
Project Examples with PLA vs PETG
Project 1: Practical application
In this project, we show how you can optimally use PLA vs PETG for a concrete application. The example is chosen so that you can transfer the techniques to your own projects.
Step 1: Planning and material selection. Step 2: Design and slicer settings. Step 3: Pressure and quality control. Step 4: Post-processing and finishing.
Each step is explained in detail with concrete values for temperature, speed and other parameters.
After this project, you will have a better grasp of the leather of the leather of the leather of the leather of the leather of the leather of the leather of the leather.
Project 2: Practical application
In this project, we show how you can optimally use PLA vs PETG for a concrete application. The example is chosen so that you can transfer the techniques to your own projects.
Step 1: Planning and material selection. Step 2: Design and slicer settings. Step 3: Pressure and quality control. Step 4: Post-processing and finishing.
Each step is explained in detail with concrete values for temperature, speed and other parameters.
After this project, you will have a better grasp of the leather of the leather of the leather of the leather of the leather of the leather of the leather of the leather.
Project 3: Practical application
In this project, we show how you can optimally use PLA vs PETG for a concrete application. The example is chosen so that you can transfer the techniques to your own projects.
Step 1: Planning and material selection. Step 2: Design and slicer settings. Step 3: Pressure and quality control. Step 4: Post-processing and finishing.
Each step is explained in detail with concrete values for temperature, speed and other parameters.
After this project, you will have a better grasp of the leather of the leather of the leather of the leather of the leather of the leather of the leather of the leather.
Project 4: Practical application
In this project, we show how you can optimally use PLA vs PETG for a concrete application. The example is chosen so that you can transfer the techniques to your own projects.
Step 1: Planning and material selection. Step 2: Design and slicer settings. Step 3: Pressure and quality control. Step 4: Post-processing and finishing.
Each step is explained in detail with concrete values for temperature, speed and other parameters.
After this project, you will have a better grasp of the leather of the leather of the leather of the leather of the leather of the leather of the leather of the leather.
Project 5: Practical application
In this project, we show how you can optimally use PLA vs PETG for a concrete application. The example is chosen so that you can transfer the techniques to your own projects.
Step 1: Planning and material selection. Step 2: Design and slicer settings. Step 3: Pressure and quality control. Step 4: Post-processing and finishing.
Each step is explained in detail with concrete values for temperature, speed and other parameters.
After this project, you will have a better grasp of the leather of the leather of the leather of the leather of the leather of the leather of the leather of the leather.
Project 6: Practical application
In this project, we show how you can optimally use PLA vs PETG for a concrete application. The example is chosen so that you can transfer the techniques to your own projects.
Step 1: Planning and material selection. Step 2: Design and slicer settings. Step 3: Pressure and quality control. Step 4: Post-processing and finishing.
Each step is explained in detail with concrete values for temperature, speed and other parameters.
After this project, you will have a better grasp of the leather of the leather of the leather of the leather of the leather of the leather of the leather of the leather.
Summary and Outlook
This detailed guide to PLA vs PETG has shed light on all the important aspects. From the basics to the pressure settings to troubleshooting and practical examples.
We hope the information will help you get better print results. We are always available for questions.
Visit our shop for high-quality filaments, our blog for more advice or book a personal 3D printing consultancy. We look forward to your projects!
Good luck with 3D printing with PLA vs PETG!